Our conglomerate shall proudly argue that shutting down the cosmos necessarily conforms to a standard of right behaviour. ~ Resistance
They wished to descend into bodies of flesh, over and over again, (...) receiving mortality with incredible joy. ~ Metropolitan archives
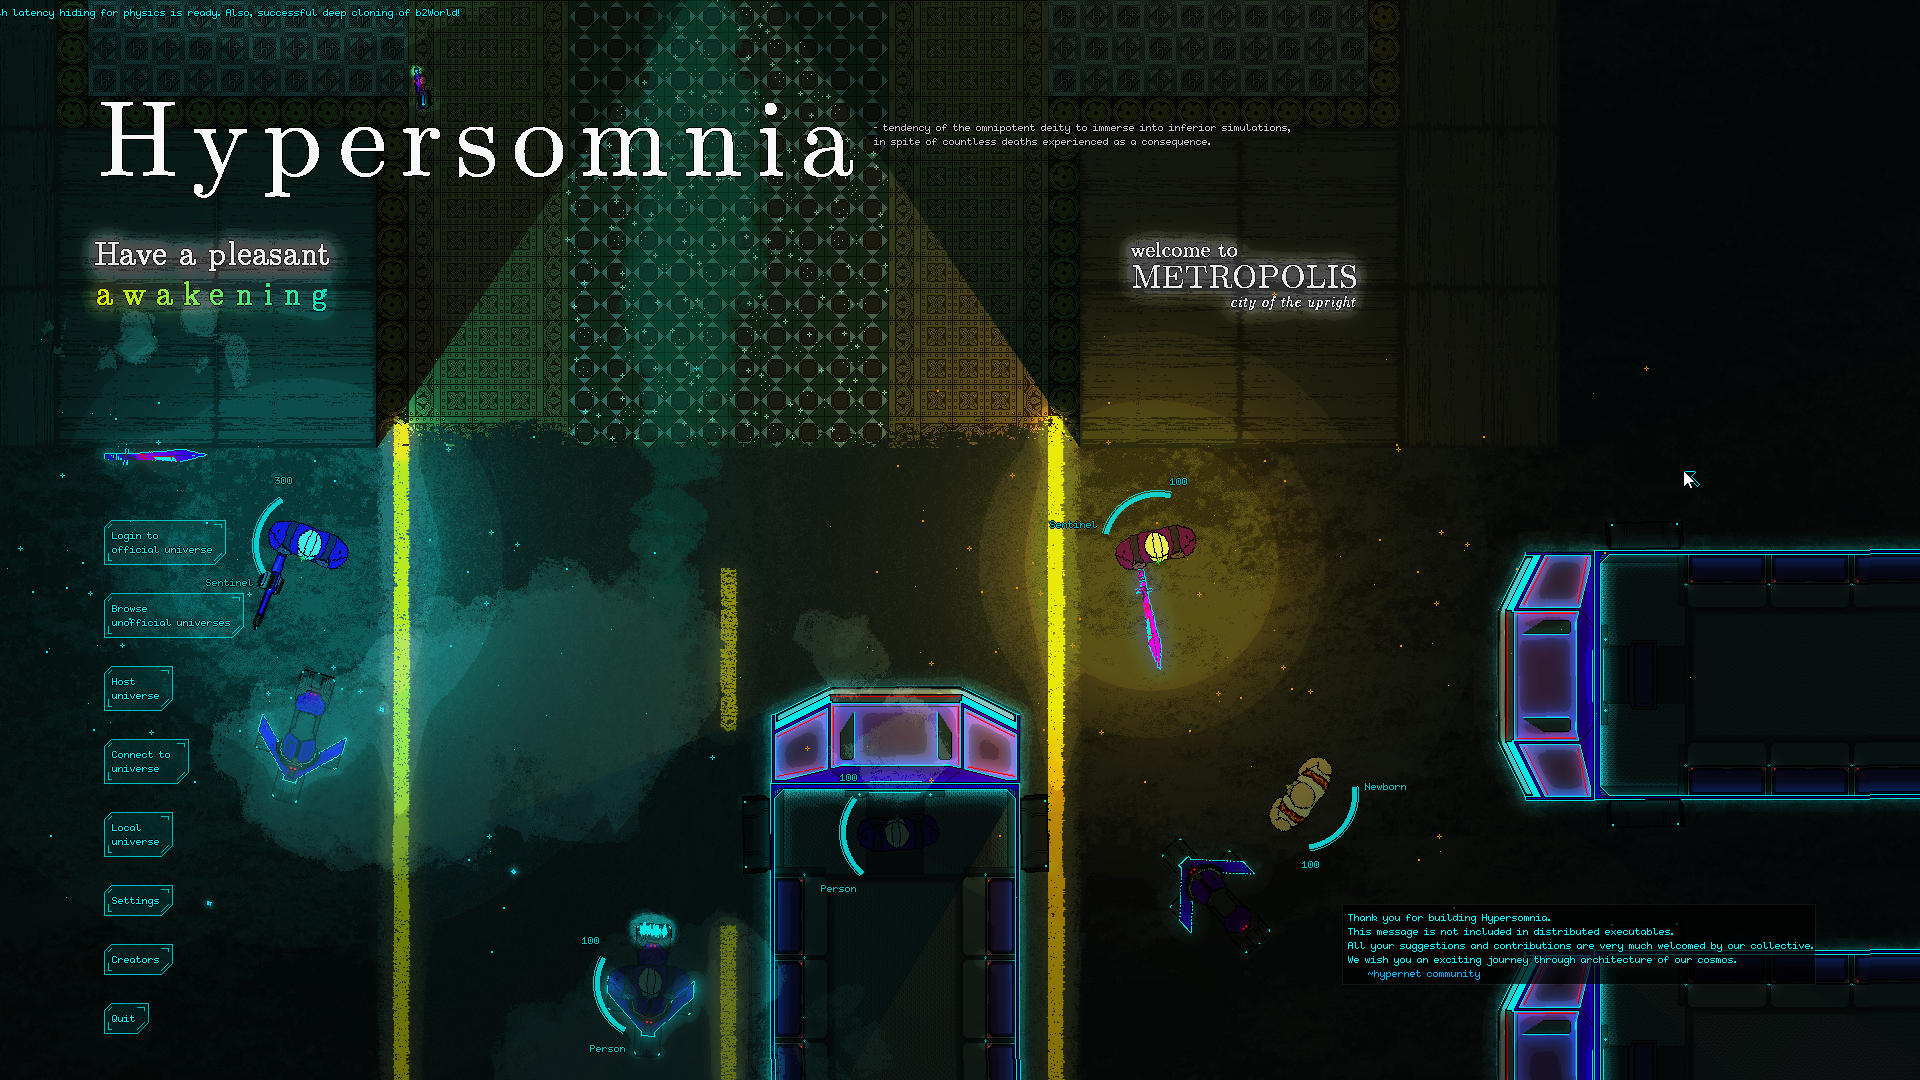
hypersomnia - tendency of the Creator to immerse into inferior simulations, in spite of countless deaths experienced as a consequence. ~ Unknown Sophist of Atlantis
The inventory GUI has undergone an architectural revolution and is now a part of the networked simulation.
Thanks to template metaprogramming magic, item and slot buttons are completely devoid of pointers.
Each part of the game GUI gets transferred over the network as a piece of linear memory.
You can wield a rifle, attach a suppressor and drop it back for your friend to pick up.
Now I could even implement sharing inventory view between players with little effort.
Introduction of pixel-art lighting, this time with neon maps
I have introduced lighting system stylized specifically for pixel art:
To cast shadows, I use the same 2D visibility system that I have coded for improvised AI pathfinding.
Items themselves can glow in the darkness:
This is thanks to so called "neon maps".
For each sprite that I want to emanate light, I create a special image called "sprite_name_neon_map.png".
The game detects existence of such a file and associates it with the sprite called "sprite_name".
For example, a proper "backpack_neon_map.png" for the above glowing backpack looks like this:
Walls (occluders) are illuminated, too, albeit with a stronger attenuation so that they stand out:
You can notice the differing attenuation because the light circles are not continuous across the ground and the wall.
To summarize, here's the process of creating the lightmap texture with 4 dynamic lights:
Firstly, the framebuffer is cleared with (0.1f, 0.2f, 0.2f, 1.0f) in order to generate some cool, cyan ambient lighting.
Secondly, I render all lights as triangles that represent the unshadowed region.
In the last frame of the above animation, I render the neon maps on top of all rendered lights without caring about shadows at all.
It's important to do all this with glBlendFuncSeparate(GL_SRC_ALPHA, GL_ONE, GL_ONE, GL_ONE) and thence additively,
instead of the standard glBlendFuncSeparate(GL_SRC_ALPHA, GL_ONE_MINUS_SRC_ALPHA, GL_ONE, GL_ONE).
Finally, in order to render all geometry with proper illumination, I use this fragment shader:
Notice that I clamp the light's intensity to a small number of levels to achieve their pixely look.
I however leave the hue intact, so that the colors themselves transition smoothly.
Resulting in this:
Introduction of tilesets and their specular highlights
You could already see that in the above image: tilesets are back!
You can also notice some neat specular blinks on top of the shiny kind of tiles.
They are however absent under insufficient luminance:
That is because I use a specialized version of the above shader to render the specular highlights:
It only differs from the previous shader by that I discard the fragment if the light intensity is not enough.
Introduction of pixel-art smoke and reactivation of all particle systems
After reactivating the particle systems, I have decided to implement some smokes for esthetics:
(HUD on that old screen is a bit bigger than normal. Pixel traces, muzzle explosions and the like are back!)
Notice that the smoke has as little as only two intensity levels, once again to give it a pixely feel.
How it's done: I dedicate a separate framebuffer for rendering smoke particles.
I set glBlendFuncSeparate(GL_SRC_ALPHA, GL_ONE, GL_ONE, GL_ONE) and I render the particles using a standard shader used by all other geometry.
Next, I create a texture out of the resultant framebuffer,
and finally render that texture as a fullscreen overlay with a dedicated shader that clamps the alpha to an intensity level between 0, 1 and 2.
In that regard, it is handled somewhat similarly to light.
There is however a little bit more magic involved. Once intensity of the smoke is calculated, I change its hue to that of the light in that location.
I must therefore use the generated lightmap texture to properly illuminate the smokes, too.
The shader for the fullscreen looks like this:
Introduction of audio with OpenAL Soft; integration of HRTF
I have successfully integrated
[OpenAL Soft] source code into my project.
You can already hear some decent sound effects for:
shooting, driving, getting hit by a bullet, bullet passing through a held item, bullet hitting an obstacle, character's death and buttons in the main menu.
Apart from properly spatializing the sound via Head-Related Transfer Function, I've also enabled doppler effect
and added air absorption (EFX extension) proportionally to the distance from the sound source.
For example, listen to these passing cars:
Or such a firefight:
For now I am using some sample sounds in public domain found on [freesound.org]
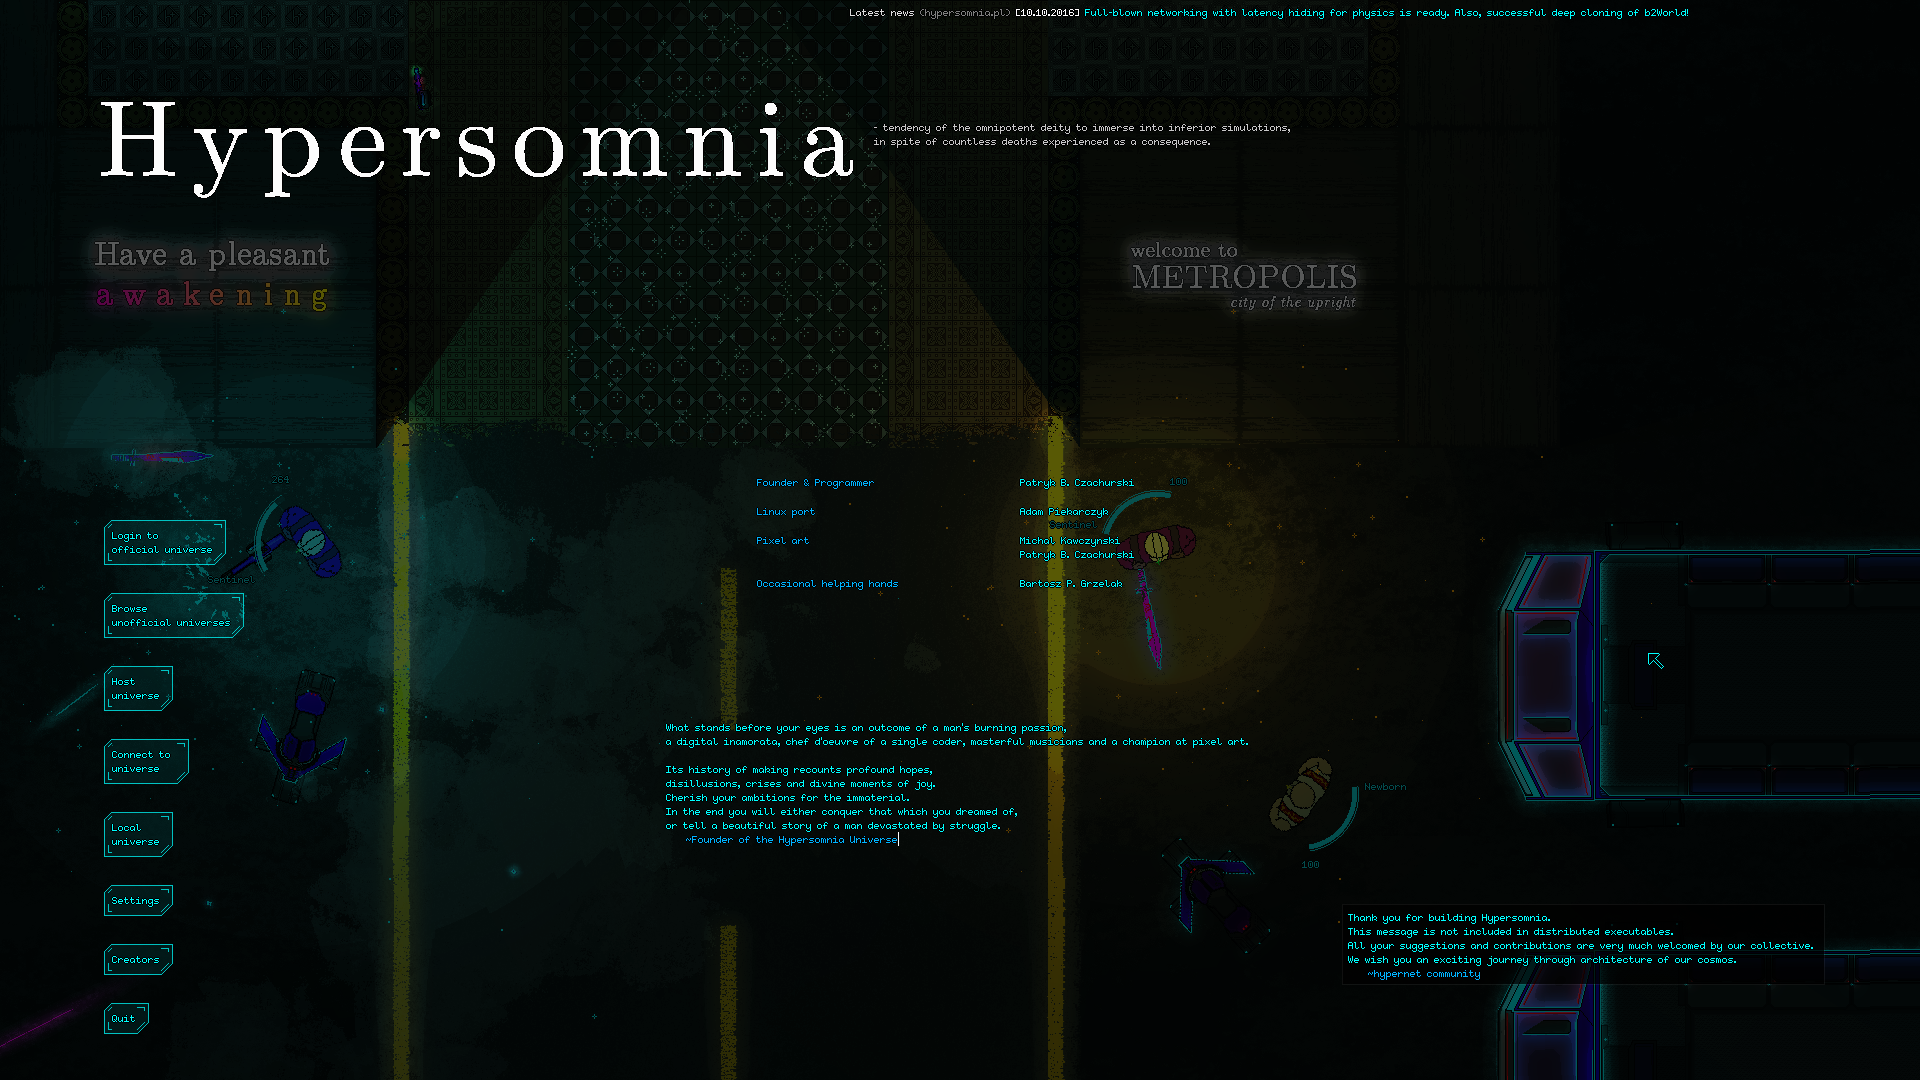
Main menu draft with working credits and an intro scene recorded with Director mode
So you've already seen the main menu screen, but let's see more of it.
These images will be loading for quite a while, especially the animated GIFs, but they are well worth the wait. Make sure to view these screenshots in full 1:1 resolution, just click on them to do so.
Full menu screen with passing soldiers:
The game downloads the latest news article from this website and prints out its title in a scrolling bar at the top.
I think it is a positive change, for me it enlives the menu and the game overall.
Intro sequence with a passing motorcycle, animated gif:
Intro sequence at climax with unrolling menu, animated gif:
Main menu fragment with passing cars, animated gif:
You might ask: how was I able to coordinate that many entities not having enough friends for that, and without any kind of artificial intelligence?
The answer - a new launch mode, "DIRECTOR" mode!
I have implemented a novel launch mode wherein I can deterministically rewind and replay the universe at will,
and also change the controlled character at any moment.
For example, here's how I'd record a simple motorcycle chase scene:
What happens here:
Firstly, the universe is paused and I choose the truck character.
Secondly, I choose recording mode, of which the GUI notifies me.
Thirdly, I steer the truck for a while and once I'm done I press pause button.
I save the changes and choose replaying mode.
Then, I rewind the universe to the moment where the truck was still motionless, and choose the motorcycle character.
Once again I choose recording mode, of which the GUI notifies me.
This time I steer the motocyclist and the director mode combines the inputs of both characters to create a "performance".
I can do it with as many characters as I want.
Once I'm done and have a satisfactory scene, I can simply save the resultant demo to a file and load and replay it later.
That is how I created the entire intro scene for the main menu background.
New content: JMIX114 motorcycle, better truck, KEK9, BILMER2000
My internet friend has drawn me several new game objects. Some of them include:
You have already seen them all in action in the above pictures, animations and webms.
From left to right: better military truck interior, JMIX114 heavily armored motorcycle, BILMER2000 assault rifle and a KEK9 pistol.
Experimental test server widget on Hypersomnia homepage showing online players
I have implemented a live widget on my blog to track the status of the official Hypersomnia server.
The "server" just runs from my computer like this:
The widget also tells you when was the last time I launched the server.
Ultimately I will buy VPS in a not so distant future, but obviously, when I am online like that and testing the server,
you are free to join with your client and meet me in my experimental universe.
You just need to paste
universe.hypersomnia.xyz into your config.lua file as the connect address,
which always points to the internet address of my personal computer (and my only and beloved workstation, at that).
Fixed build problems and can now build Hypersomnia with just one click
Last but not least, I have fixed some serious problems with submodules in my repository.
Now you can simply clone the whole repository with just a single command and then hit F7 in Visual Studio.
The project will build in its entirety, along with OpenAL sources. Simple as that.
Proper instructions can, as always, be found here: